Workflow Canvas
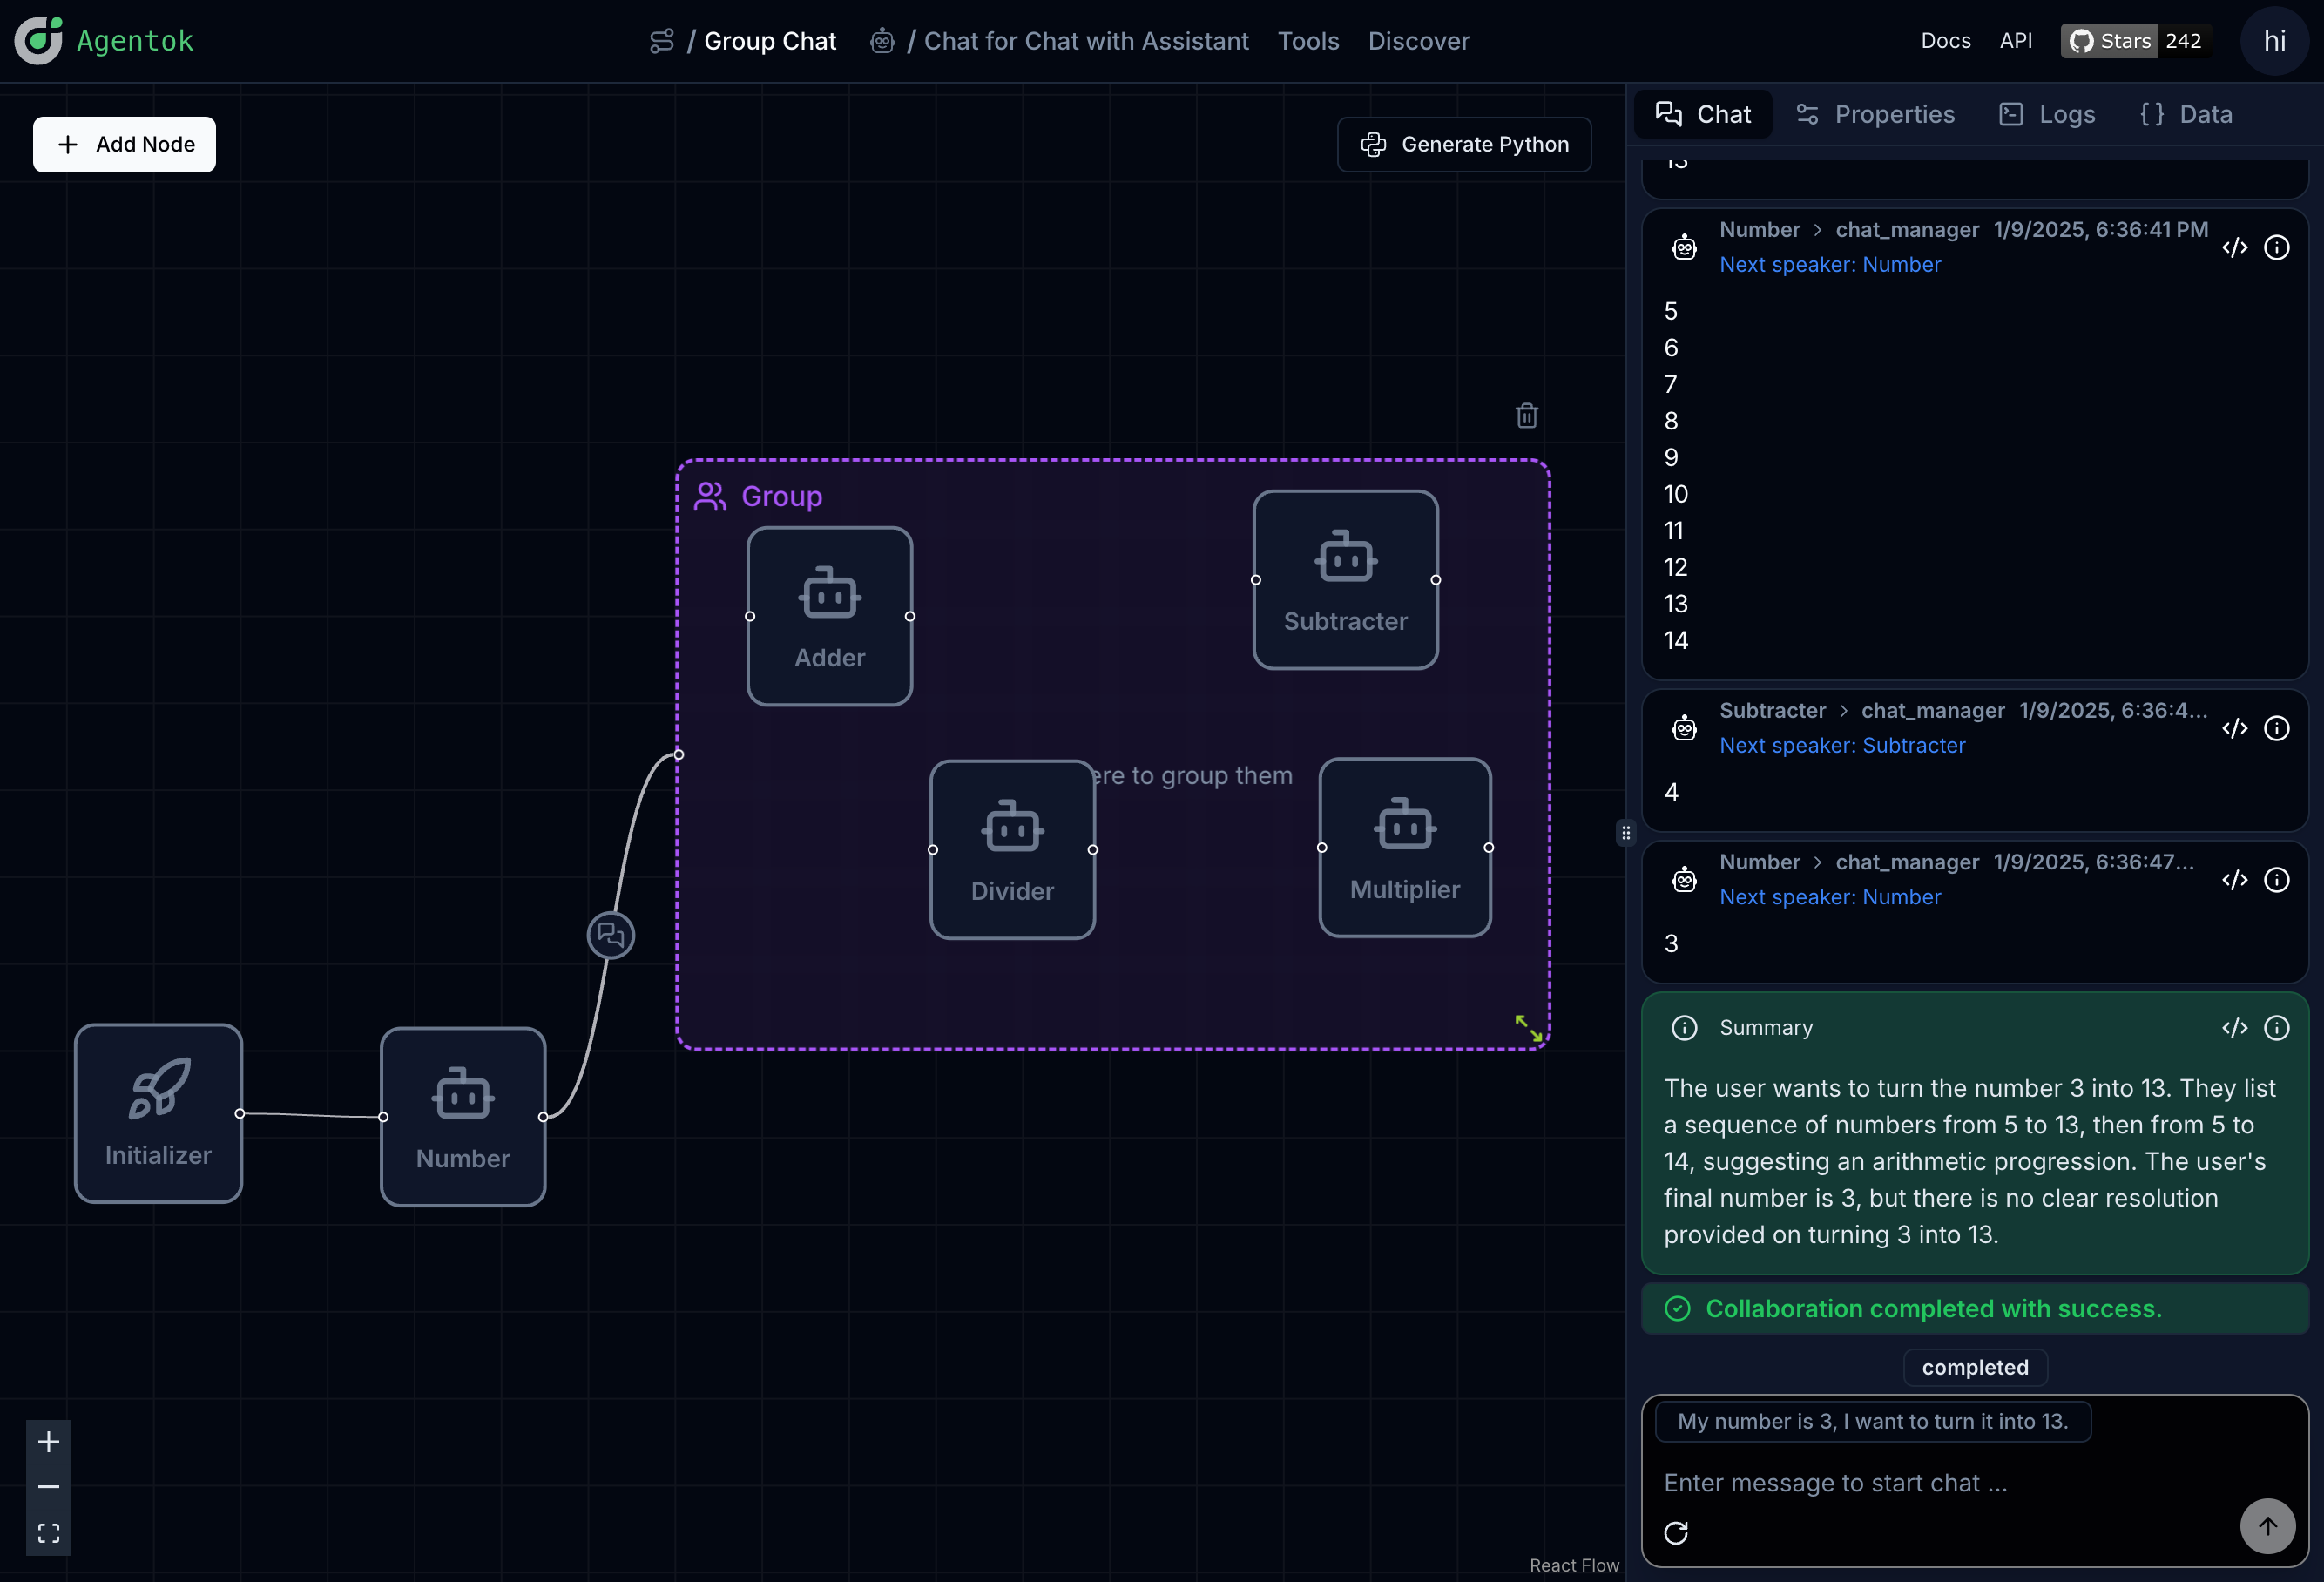
The canvas is where you design multi-agent workflows. Each node is an AG2 agent or supporting element; edges define who talks to whom.
Adding nodes
Click + in the top left to open the node palette. Drag a node onto the canvas or click to place it.
Basic nodes
| Node | Purpose |
|---|---|
| Initializer | Entry point and global config (sample messages, LLM defaults) |
| Agent | Generic conversable agent with full configuration |
| User | UserProxyAgent — human interface and code execution |
| Assistant | AssistantAgent — LLM-powered helper |
| Group | GroupChat container for multiple agents |
| Note | Comment on the canvas (not included in generated code) |
Advanced nodes
| Node | Purpose |
|---|---|
| Captain | Agent tuned for breaking down complex tasks |
| Web Surfer | Agent that browses the web |
| DeepSeek | Assistant preconfigured for DeepSeek models |
Configuring agents
Click a node to open its property panel on the right. Common settings:
- Human Input Mode — when the user proxy should pause for human input (
ALWAYS,TERMINATE, orNEVER) - Max Consecutive Auto Replies — how many back-and-forth turns before stopping
- System message — instructions that shape agent behavior
- LLM config — model and inference settings (project-wide defaults can be set in Settings → Models)
Use More Options on a node for advanced AG2 settings such as code execution config, termination messages, and custom functions.
Project layout
A workflow editor has three main areas:
- Canvas — nodes and connections
- Property panel — selected node or edge settings
- Toolbar — add nodes, start chat, view Python code, toggle theme
Switch between light and dark themes from the top right.
Tips
- Start every workflow with an Initializer node for sample messages and shared LLM config.
- Use Notes to document intent for collaborators without affecting codegen.
- Name nodes clearly — names become variable names in the generated Python.
Next: Conversation Patterns
Last updated on